Piped
Piped is a free and open source frontend for viewing YouTube videos and supports login, subscriptions, feeds, playlists without needing a YouTube account.
Pre-requisites
To self-host Piped, you will need the following on your system:
Docker and Docker Compose: Needed for running the services in a containerized manner. Ensure you have Docker and Docker Compose by running:
shdocker -v docker compose -vGit: This is needed for cloning the project to obtain configuration files and scripts
shgit -v
Getting started
Clone the repository.
shgit clone https://github.com/TeamPiped/Piped-DockerConfigure the instance's details
shcd Piped-Docker ./configure-instance.shThis should prompt for the following details:
- Frontend hostname
- Backend hostname
- Proxy hostname
- Reverse proxy: Caddy, nginx, standalone
- Connectivity: HTTPS or HTTP
Local configuration
When using local system without any domain configuration, you will have to suffix the hostnames with
localhostfor generation of certificates without hassle.mdEnter a hostname for the Frontend (eg: piped.kavin.rocks): `piped.localhost` Enter a hostname for the Backend (eg: pipedapi.kavin.rocks): `pipedapi.localhost` Enter a hostname for the Proxy (eg: pipedproxy.kavin.rocks): `pipedproxy.localhost` Enter the reverse proxy you would like to use (caddy, nginx or standalone): `caddy` Is your hostname reachable via HTTP or HTTPS? (eg: https) `https`Configuration with a domain
When using a custom domain, create the needed
AorAAAArecords for the subdomains for frontend, backend and proxy with the server machine's public IP address with the DNS provider of your choice, this will usually be of domain registrar or other services.Assuming your domain is
example.com, you can enter the values as follows (but not necessarily the same):mdEnter a hostname for the Frontend (eg: piped.kavin.rocks): `piped.example.com` Enter a hostname for the Backend (eg: pipedapi.kavin.rocks): `pipedapi.example.com` Enter a hostname for the Proxy (eg: pipedproxy.kavin.rocks): `pipedproxy.example.com` Enter the reverse proxy you would like to use (caddy, nginx or standalone): `caddy` Is your hostname reachable via HTTP or HTTPS? (eg: https) `https`This should create the Docker Compose file (
docker-compose.yml) needed for running Piped.Start the service using Docker Compose
shdocker compose upYou should be able to access the application at
https://piped.example.comorhttps://piped.localhost(if you're running locally) on your web browser.NOTE
While using a
localhostdomain with HTTPS, browsers generally display a warning saying your connection is not private, which is a common occurence with self-signed certificate. You can ignore this warning and proceed.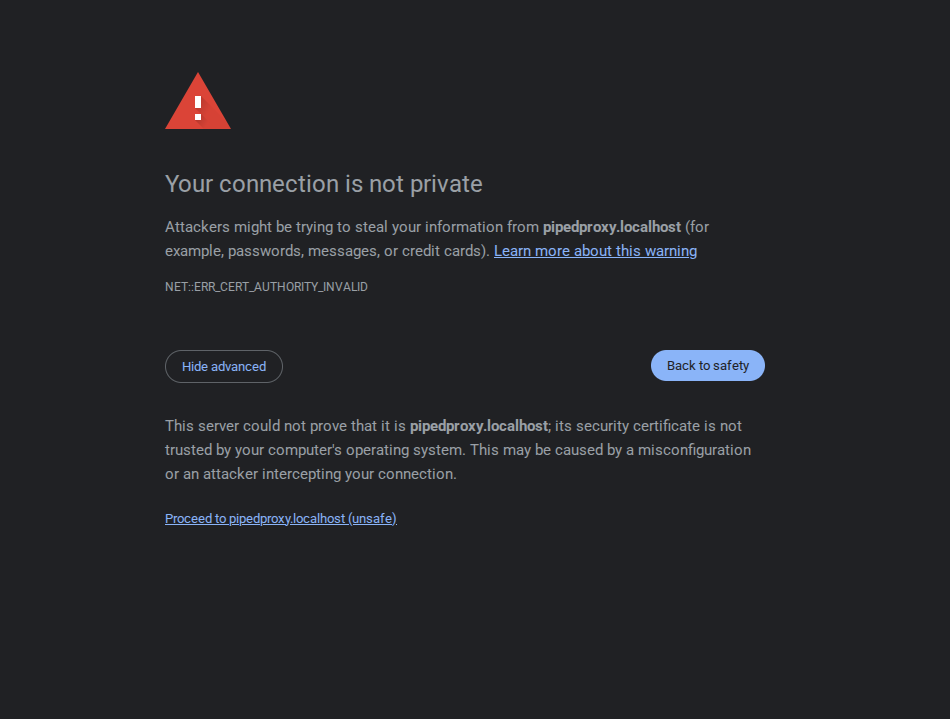
This is applicable for other requests from backend as well and the domains (
pipedapi.localhost,pipedproxy.localhost) have to be visited in browser tab once to rectify this error.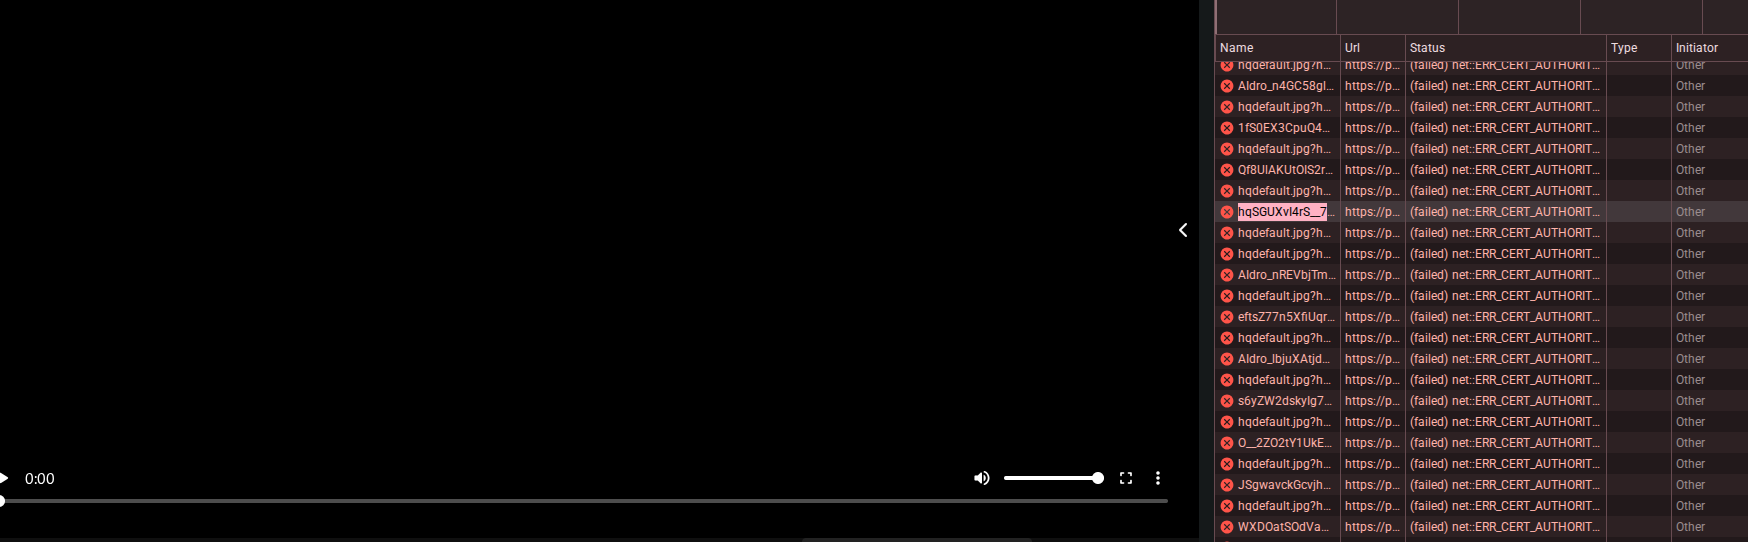
Congratulations! You're all set to browse YouTube privately.